
How to Read and Clear Check-Engine Codes With an OBD2 Scanner

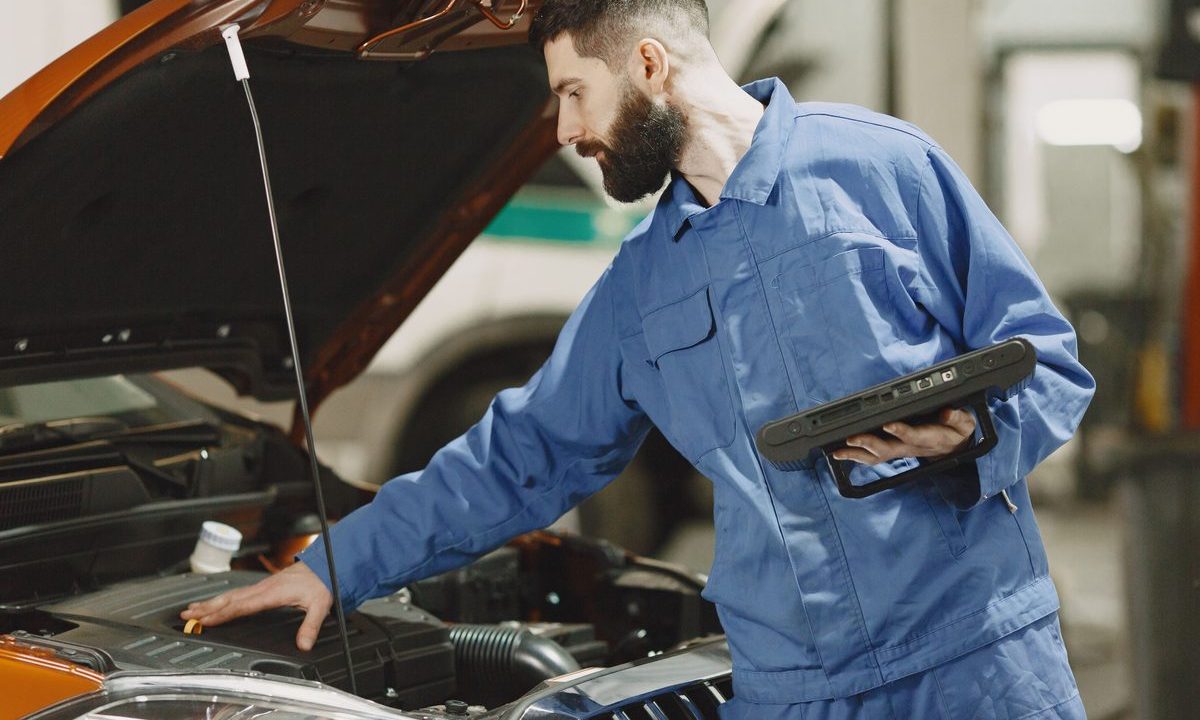
The check-engine light is a big black box. Sometimes it requires a simple adjustment (like tightening a 30-cent gasket on your gas cap) and other times it can mean an expensive repair (such as a $1,500 catalytic converter). Many repair shops will charge you $100 or more to simply hook up a code reader to determine the cause of the light to come on. However, an OBD2 scanner will give you the same information in about 2 minutes in your own driveway. And once you have one OBD2 scanner, you can use it to read the information from the computers in almost any vehicle since 1996. The 16-pin OBD2 port is located on the lower part of the dash of most vehicles and is labeled Diagnostic Port.
The 3 biggest mistakes with code readers are: 1) Clearing the code and then documenting what you did, 2) Misunderstanding what the code name is referring to (Assumes the code name is referring to the broken part, not what the code reader is seeing for symptoms), 3) Clearing a light only to have it return.
Step-by-step: Using an OBD2 Scanner
- Where is the port located. The port is a 16-pin trapezoid connector. The connector is typically located under the driver’s side dash or in the center console. It can also be located under the passenger’s side dash.
- Plug in and power up Turn the Ignition Switch OFF; plug in scanner; Turn the Ignition Switch to ON (engine NOT required to be running – unless tool specifies so); Allow scanner to complete sync with the vehicle.
- Read the codes. Press “Read Codes” and note down all codes stored (switched on and confirmed plus triggering light) and all pending codes (detected but not confirmed). These codes will also be stored in case of a persistent fault.
- Decode the structure. Each code is one letter + four digits. The letter is the system: P powertrain (engine/transmission), B body, C chassis, U network. The next digit is 0 = generic or 1 = manufacturer-specific; the rest pinpoint the subsystem and fault. So P0171 is a generic powertrain air/fuel code.
- Research the cause and fix: Before you clear the code, find out exactly what code is causing the problem, how hard it will be to fix, and record the code before clearing it to fix the problem.
Safety tip: don’t clear codes right before an emissions/smog test — clearing resets the readiness monitors, and the car will fail until it re-runs its self-tests over many miles of driving.
Pro Tips
- Dongle vs. handheld: a $20–30 Bluetooth dongle pairs to your phone and is plenty for reading/clearing; a handheld needs no phone and boots faster in the cold.
- Note the freeze-frame data the scanner saves with a code (RPM, temperature, engine load at the moment it set) — it’s gold for chasing intermittent faults.
- Clearing a code doesn’t repair anything. If the light returns, the underlying problem is still there.
Common Problems & Fixes
- Scanner won’t connect → ignition isn’t in “on,” a blown cigarette-lighter/OBD fuse, or a bent port pin.
- Code returns after clearing → expected; the fault is unresolved. Diagnose the cause.
- “No codes” but the light is on → some faults are manufacturer-specific and a basic generic reader may miss them.
- Multiple codes at once → fix the root/oldest cause first; one fault often sets several codes.
Related on GarageVetted
- Buying guide: Best OBD2 Scanner to Pick in 2026
- How to Diagnose Why Your Check Engine Light Is On (Without a Mechanic)
- How to Choose an OBD2 Scanner (Basic Reader vs. Bidirectional)
Before you clear a code, let the OBD2 scanner show the freeze-frame data so you know what triggered the check-engine light. Clearing codes only resets the light; if the fault remains, an OBD2 scanner will show it again on the next drive cycle. For emissions-readiness rules, see epa.gov.
Related reviews
11.1V vs 14.8V Jump Starters: What Really Determines Starting Power?
Peak amps dominate jump starter advertising, but that headline number does not tell you how well a portable booster will…
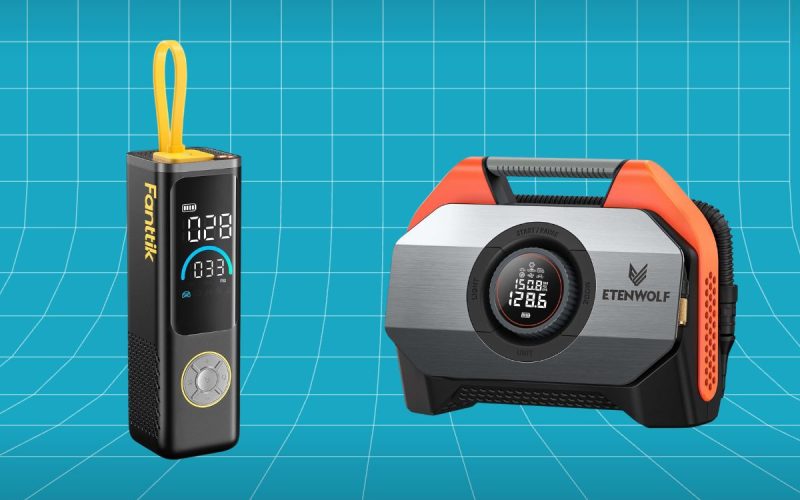
Fanttik X9 APEX vs ETENWOLF VORTEX S6: Premium Tire Inflator Showdown
Fanttik X9 APEX vs ETENWOLF VORTEX S6: Premium Tire Inflator Showdown The Fanttik X9 APEX vs ETENWOLF VORTEX S6 matchup…
What PSI Should Car Tires Be? The Right Pressure for Every Vehicle
What PSI Should Car Tires Be? The Right Pressure for Every Vehicle What PSI should car tires be? For most…