
How to Recharge a Portable Power Station With Solar Panels


The majority of power stations are running on batteries and are being powered by solar power. But in order to recharge the batteries of your power station, the right solar panels have to be connected in order to prevent a too slow recharging of the batteries or even damage to the charge controller. There are two important parameters for the solar panels to be used for recharging: the voltage of the solar panels (which must not be higher than the input voltage of the power station) and the wattage of the solar panels (which can be increased in order to recharge the batteries of the power station faster). And in addition also the corresponding plug for the solar panels. How can you find the right parameters for your power station in order to be able to recharge it with solar power without trying and error?
Step-by-step: Solar-Charging a Portable Power Station
- Match panel voltage to the input window. Every station lists an input voltage range (e.g., 12–120V). Your array’s open-circuit voltage (Voc) must stay below the max — and Voc rises in the cold, so leave headroom. Exceeding the unit’s Vmax can damage the internal MPPT controller.
- Match wattage to the input cap for speed. More solar watts = faster charging, up to the station’s solar-watt limit (some cap around 220W). Light “over-paneling” is usually fine — the MPPT simply clips the excess.
- MPPT vs PWM: Most quality solar monitoring systems are equipped with MPPT (Maximum Power Point Tracking) solar charge controllers. These controllers are superior to the old PWM (Pulse Width Modulation) type solar charge controllers for partial shading, early morning and evening sun. So use MPPT for your real-world charging needs.
- Using wire panels in series or in parallel. To get the lowest input voltage, wire panels in series. To increase the current available at a fixed voltage, wire panels in parallel. Note that using panels in parallel has more merit when the lowest voltage allowed by a unit of a given size is higher than the testing station’s “window” for a given size of unit.
- Use the right cables and connectors. Panels usually use MC4; stations use XT60/XT60i, DC7909, and others. An MC4-to-XT60 adapter (~$10–15) is the common link — note the XT60i has an extra pin that can unlock higher charge rates on some units. Use thick 10–12 AWG cable to cut losses.
Safety tip: always leave cold-weather headroom on voltage — a sunny, freezing morning can spike Voc past the limit and damage the controller.
Pro Tips
- Voltage can destroy the controller; wattage only sets speed. Respect the voltage ceiling first, then chase watts.
- MPPT plus a little over-paneling gets you closer to rated charge on cloudy days.
- Aim and tilt the panels toward the sun and re-aim a few times a day — angle beats adding panels for real-world gain.
Common Problems & Fixes
- Not charging / input error → array voltage is outside the window (too low or too high). Rewire series/parallel.
- Charges very slowly → too few watts, poor sun angle, or PWM/partial shade. Add panels or re-aim.
- Connector won’t fit → wrong adapter; get MC4-to-(your station’s port).
- Charging stops on a cold morning → Voc spiked past Vmax; reduce the number of panels in series.
Related on GarageVetted
- Buying guide: Best Portable Power Station to Pick in 2026
- How to Choose the Right Size Portable Power Station (Watts & Watt-Hours)
- How to Power Your Home Essentials During an Outage With a Power Station
To recharge a portable power station with solar, keep the panel array within the unit’s rated input voltage and amperage, then wire panels in series to raise voltage or in parallel to raise current. Real charge time depends on sun angle and panel watts. For solar basics, see the guide at energy.gov.
Related reviews
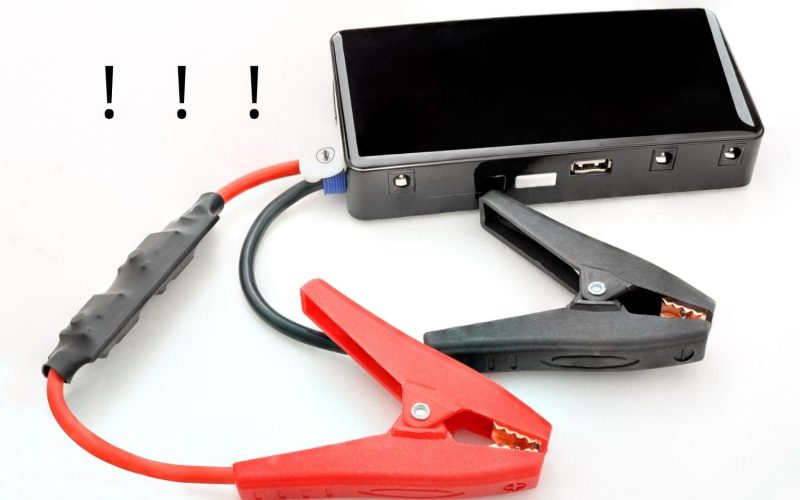
11.1V vs 14.8V Jump Starters: What Really Determines Starting Power?
Peak amps dominate jump starter advertising, but that headline number does not tell you how well a portable booster will…
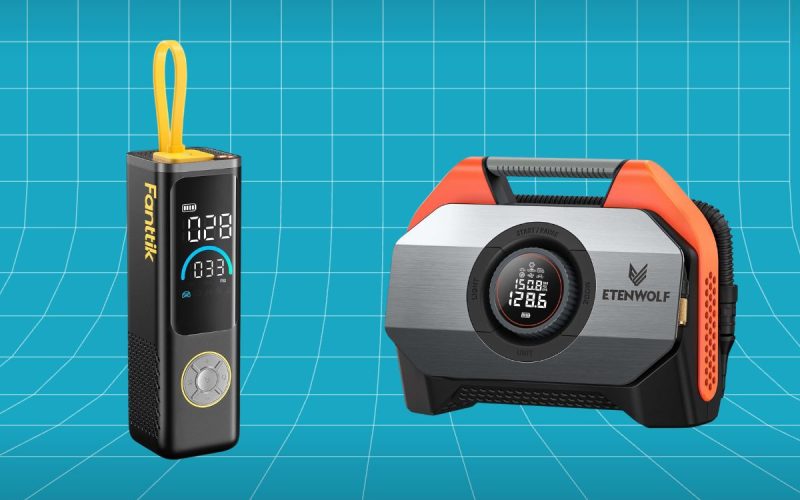
Fanttik X9 APEX vs ETENWOLF VORTEX S6: Premium Tire Inflator Showdown
Fanttik X9 APEX vs ETENWOLF VORTEX S6: Premium Tire Inflator Showdown The Fanttik X9 APEX vs ETENWOLF VORTEX S6 matchup…

What PSI Should Car Tires Be? The Right Pressure for Every Vehicle
What PSI Should Car Tires Be? The Right Pressure for Every Vehicle What PSI should car tires be? For most…