
How to Choose a Cordless Drill (Drill/Driver vs. Hammer Drill vs. Impact)

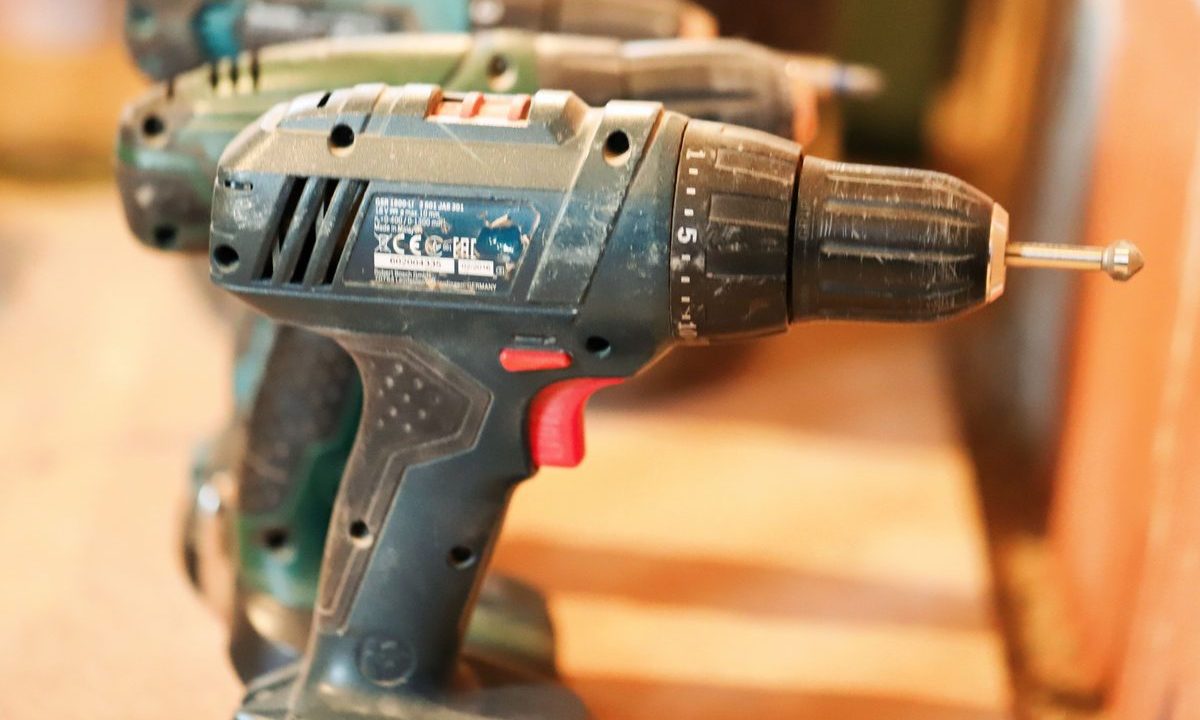
“Drill,” “impact driver,” “hammer drill” — the tool wall makes them look interchangeable, and buyers grab a combo kit without knowing what each does. They’re three different jobs: one drills and drives with control, one drives fasteners with brute torque, one bores masonry. Buy the wrong one and you’ll strip screws, stall in concrete, or overpay for a tool you won’t use.
Step-by-step: Choosing a Cordless Drill
- Match the tool to the job.
- Drill/driver: the versatile all-rounder — drills holes and drives screws with a clutch for control. The one tool most homeowners need first.
- Impact driver: drives long screws, lags, and stubborn fasteners with ~3× the torque of a drill via concussive blows; not for precise holes. Best for decks, framing, and lots of screws.
- Hammer drill: adds a pounding action to bore brick/concrete/masonry. Get it if you drill into masonry.
- Voltage: 12V vs. 18/20V. 12V is compact and light — great for furniture and light home use. 18/20V has more power and runtime for demanding drilling/driving but is heavier. Pick by how hard your jobs are.
- Brushless vs. brushed motors. Brushless runs cooler, is ~10–15% more efficient (longer runtime), lasts longer, and is lighter — worth it if you’ll use it often. Brushed is cheaper for occasional use.
- The battery ecosystem is the real decision. Batteries and chargers are expensive, so pick one brand’s platform and stay in it — then every future tool shares batteries. This matters more than small spec differences.
- Check chuck size, torque, and speed. A 3/8″ chuck suits light work, 1/2″ takes larger bits; more torque and two speed ranges (low-torque / high-speed) add versatility.
By user: homeowner → 12V or 20V brushless drill/driver; DIY builder → drill + impact combo; masonry → add a hammer drill.
Safety note: whatever you buy, use eye protection, let the clutch (not brute force) set screw depth, and check walls for hidden wiring/pipes before drilling.
Pro Tips
- Buy the platform, not just the tool — commit to one battery brand and future tools get cheaper (bare-tool).
- A drill/driver + impact driver combo covers ~90% of DIY; add a hammer drill only when you hit masonry.
- Brushless pays off in runtime and lifespan if you use the tool regularly.
Common Problems & Fixes
- Screws strip / cam out → you’re using a drill for heavy driving. An impact driver drives them better.
- Stalls in concrete → a regular drill can’t do it; you need a hammer drill.
- Runs out of charge fast → brushed or too low voltage for the job. Go brushless/higher voltage.
- Bought a second brand → incompatible batteries. Consolidate to one platform.
Related on GarageVetted
- Buying guide: Best Cordless Drill to Pick in 2026
- How to Use a Cordless Drill (Drilling and Driving for Beginners)
- How to Drill Into a Wall (Drywall, Brick, Concrete, Tile) Without Cracking It
Cordless Drill Types, Simplified
A standard cordless drill/driver is the do-everything tool for holes and screws in wood, metal, and plastic — start here. Add a hammer drill if you drill into brick or concrete, since its pulsing action bites masonry a plain cordless drill cannot. An impact driver is a separate tool that drives long screws and lag bolts with high rotational bursts, sparing your wrist.
For specs, an 18/20V cordless drill suits most homeowners, while 12V is lighter for light tasks. Look for a brushless motor for longer runtime and life, a 1/2-inch keyless chuck for bit range, and two batteries so one always charges. Buy the cordless drill on a battery platform you can grow. For power-tool safety basics, see osha.gov.
Related reviews
11.1V vs 14.8V Jump Starters: What Really Determines Starting Power?
Peak amps dominate jump starter advertising, but that headline number does not tell you how well a portable booster will…
Fanttik X9 APEX vs ETENWOLF VORTEX S6: Premium Tire Inflator Showdown
Fanttik X9 APEX vs ETENWOLF VORTEX S6: Premium Tire Inflator Showdown The Fanttik X9 APEX vs ETENWOLF VORTEX S6 matchup…

What PSI Should Car Tires Be? The Right Pressure for Every Vehicle
What PSI Should Car Tires Be? The Right Pressure for Every Vehicle What PSI should car tires be? For most…