
How to Use a Cordless Drill (Drilling and Driving for Beginners)

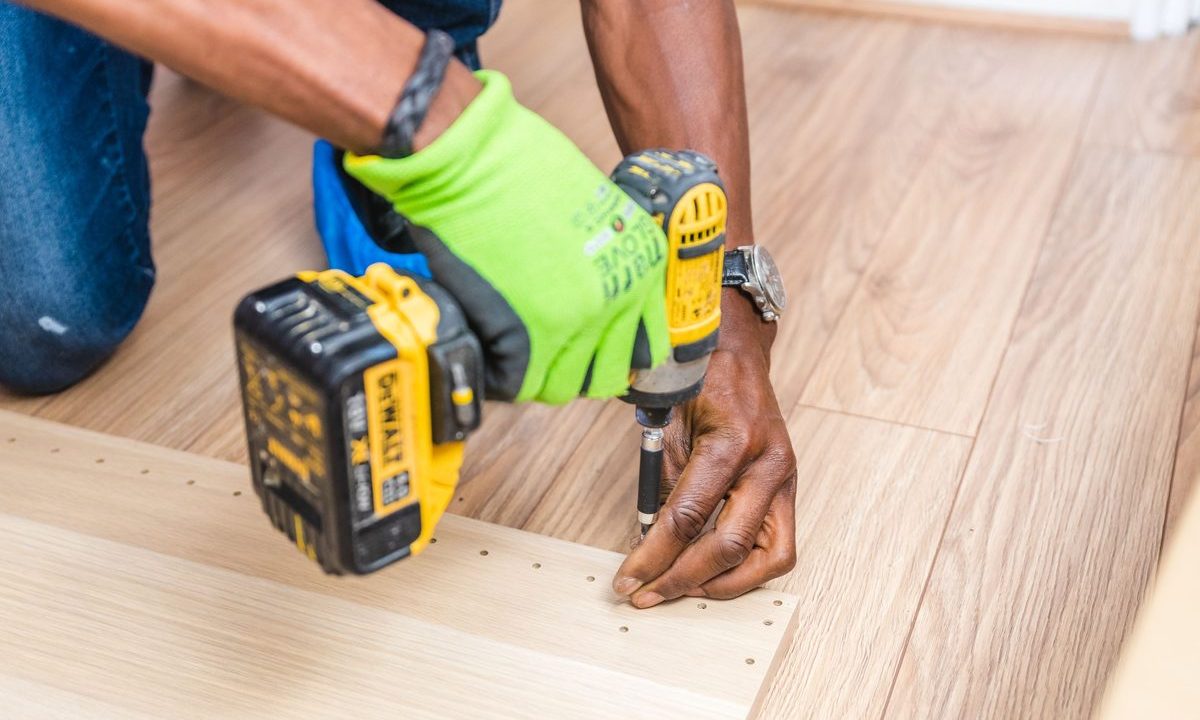
Knowing how to use a cordless drill correctly is the first real skill every DIYer should master. This beginner guide covers the settings and technique that separate clean, controlled work from stripped screws and blown-out holes.
Most first time users of power tools choose the cordless drill as their first power tool. They use it the most wrong. In addition to the power of the drill, two important features to consider when choosing a drill are the mode selector and the clutch. Two of the most misused features on power drills by beginning carpenters and homeowners. They cause the user to stripped screw heads, snap fasteners and mangle drywall. Learning what the numbered collar in the center of the drill body does will allow you to use the drill to drive a screw perfectly flush every time.
Step-by-step
- Drill Bits / Chuck / Drill Mode & Clutch: The Chuck is what holds your Drill Bits in place. You open and close the Chuck by turning it. Next is the Drill Mode. This is a simple switch on your drill between: Drill (to make holes), Driver (to use your drill as a power screwdriver where the clutch is engaged to prevent over tightening of screws etc) and on some drills even Hammer (for drilling into masonry etc). The last part is the numbered clutch on your drill. This is used to set the amount of torque that is put through the drill when you are using it as a power screwdriver (i.e. as a driver). This stops you over driving a screw once it has started to go in.
- Chuck a bit and set direction. Tighten chuck with your hand a little bit. Change the switch to forward (drive/drill) or reverse (remove).
- Holes (twist, spade, hole saw): Use Drill Mode. Drilling any type of hole should be done in Drill Mode. Make sure you have selected the correct drill-bit icon instead of trying to use clutch in Drive Mode. Begin slowly to ensure all bits do not move about. Then run at a constant speed with light pressure on the trigger. Let the bit do the work.
- Driving screws. When driving screws, work in driver mode and start with a low clutch setting. Test the screw by trying to drive it into work. If the clutch slips before the screw is fully driven, you can then increase the number to deliver more torque. Soft woods like pine require clutch settings of 1-5, whereas hardwoods and metals require much higher numbers.
- Don’t strip! Pilot holes & trigger control When screwing into hardwood it’s a good idea to use pilot holes to stop the screw from splitting. When using twist drill bits to make holes also take care to keep the bit straight and ensure that the whole of the drill bit is seated in the screw head. Delicate screws (e.g. those with very small helical gears or made of brass) should be screwed in to wood using the normal rate of trigger pull rather than slowly releasing trigger as the screw may pull out of the wood instead.
Safety tips: wear eye protection, remove the battery when changing bits, keep hair and loose clothing clear of the chuck, and check for hidden wires/pipes before drilling into walls.
Pro Tips
- The clutch is your anti-strip insurance: start low and climb until the screw just seats — that’s the whole trick.
- Never use “drill” mode to drive screws — it has no torque limit and strips heads fast.
- Keep firm downward pressure so the driver doesn’t “cam out” and chew up the screw head.
Common Problems & Fixes
- Stripped screw heads → wrong bit size or drill mode. Use the correct bit, driver mode, and press firmly.
- Screw won’t sink flush → clutch set too low. Raise the number.
- Wood splits → no pilot hole. Drill one first.
- Bit slips in the chuck → not tight enough. Re-seat and hand-tighten hard.
Common Mistakes When You Use a Cordless Drill
Most beginners who use a cordless drill for the first time make the same handful of errors. The biggest is ignoring the clutch: that numbered collar behind the chuck sets how much torque the drill applies before it slips, and leaving it on the highest setting is what strips screw heads and cams out bits. Start low and work up until the screw seats flush. The second mistake is running the drill at the wrong speed — high speed for small drill bits, low speed and high torque for driving screws or boring large holes.
Two more habits matter for safety and results. Always keep the bit square to the work and let the tool do the cutting rather than leaning on it, and unplug or remove the battery before changing bits. For a broader overview of safe power-tool handling, the guidance from OSHA on portable power tools is worth a read. Master these basics and a cordless drill becomes the most useful tool in the house.
Related on GarageVetted
Related reviews
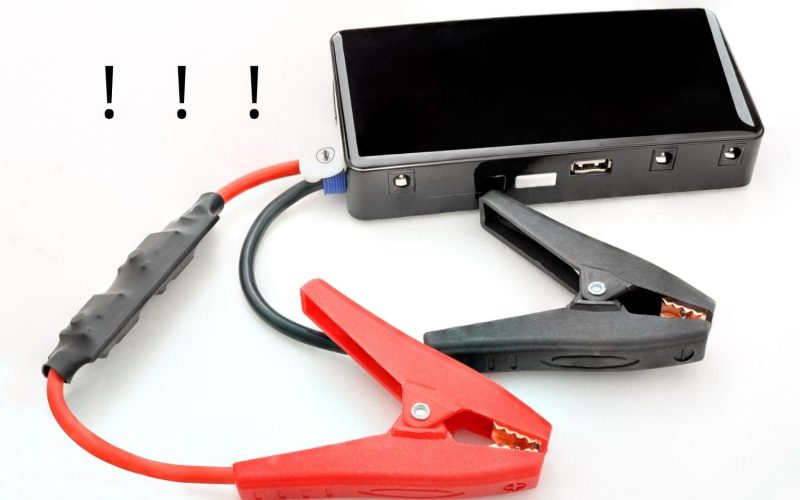
11.1V vs 14.8V Jump Starters: What Really Determines Starting Power?
Peak amps dominate jump starter advertising, but that headline number does not tell you how well a portable booster will…
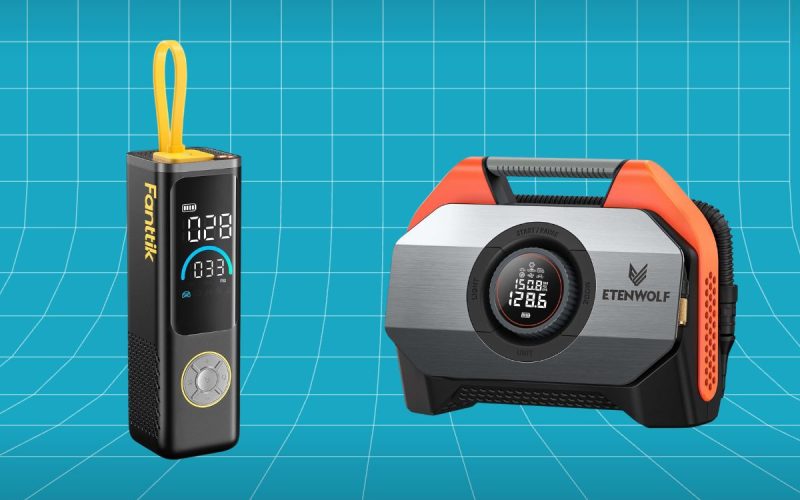
Fanttik X9 APEX vs ETENWOLF VORTEX S6: Premium Tire Inflator Showdown
Fanttik X9 APEX vs ETENWOLF VORTEX S6: Premium Tire Inflator Showdown The Fanttik X9 APEX vs ETENWOLF VORTEX S6 matchup…
What PSI Should Car Tires Be? The Right Pressure for Every Vehicle
What PSI Should Car Tires Be? The Right Pressure for Every Vehicle What PSI should car tires be? For most…